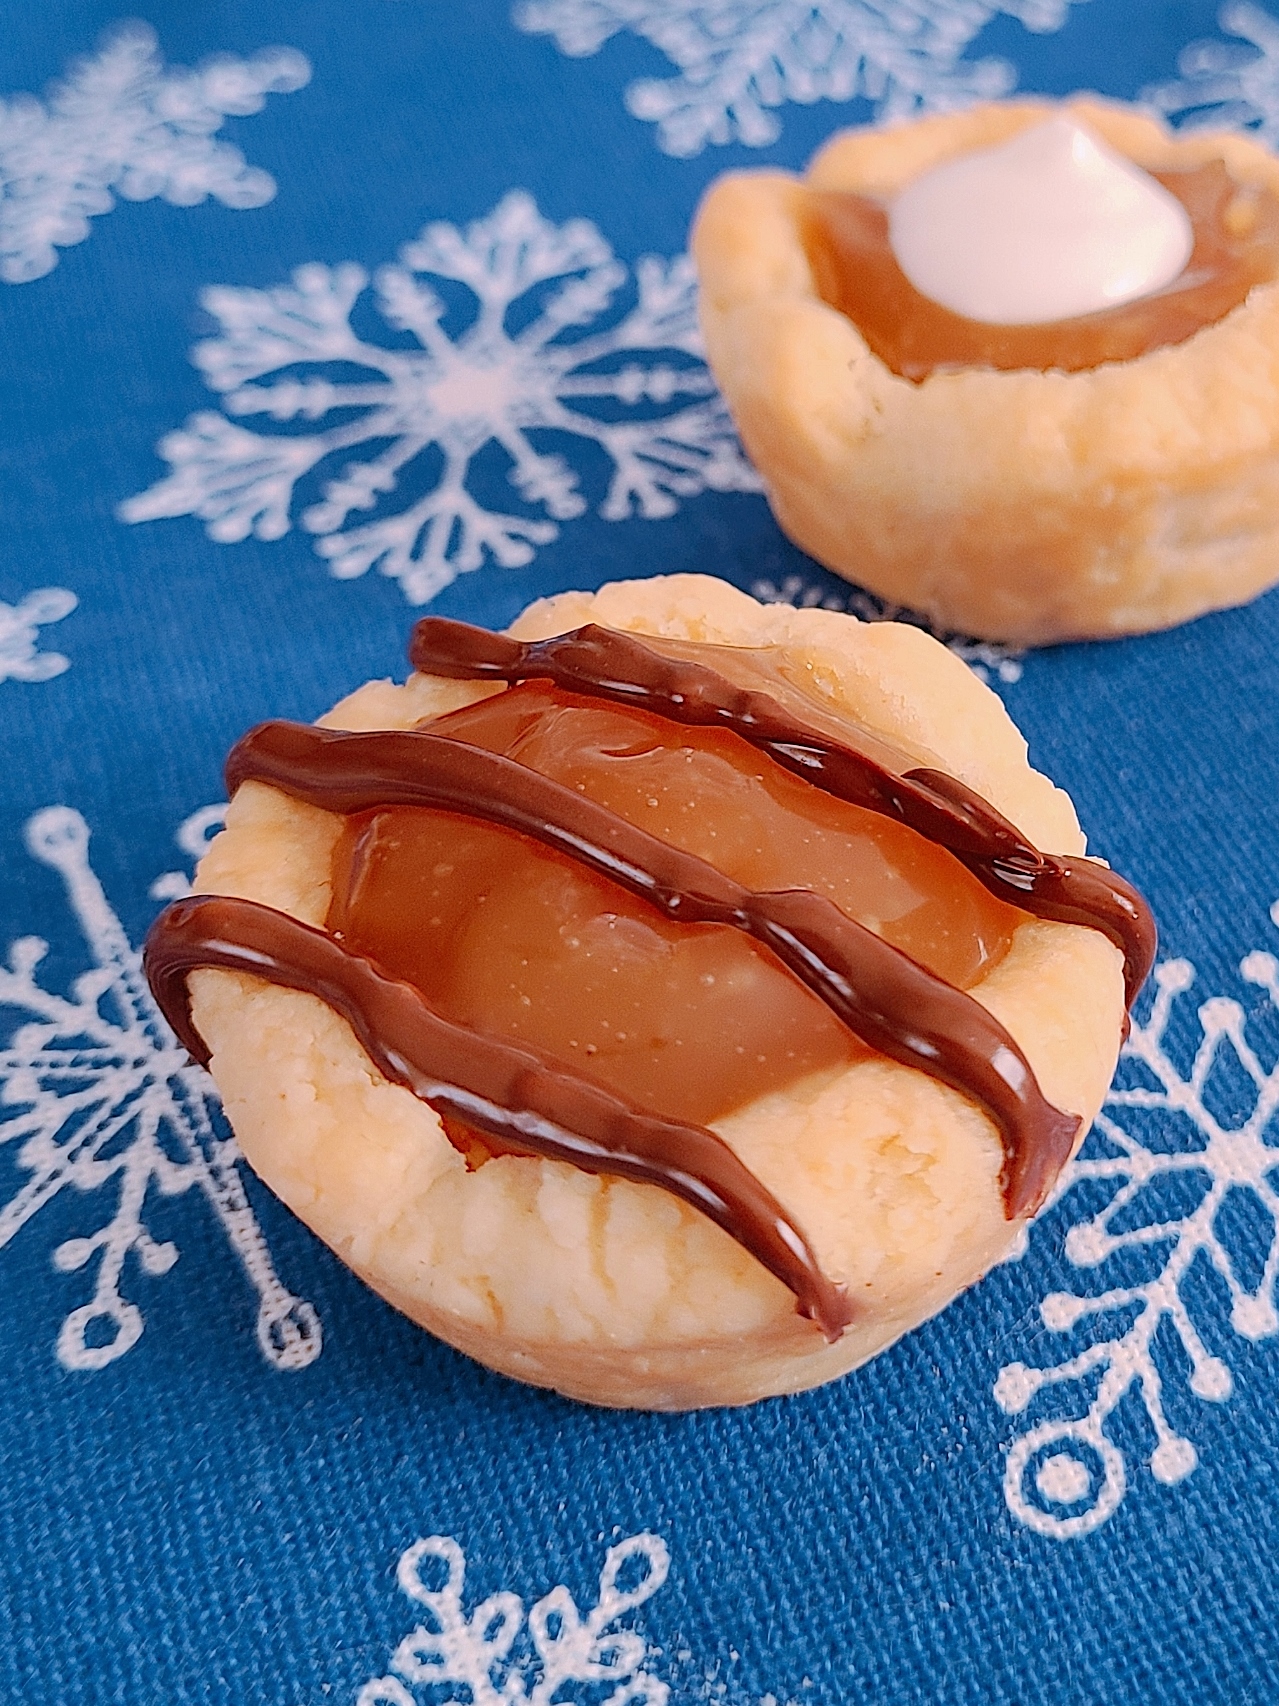
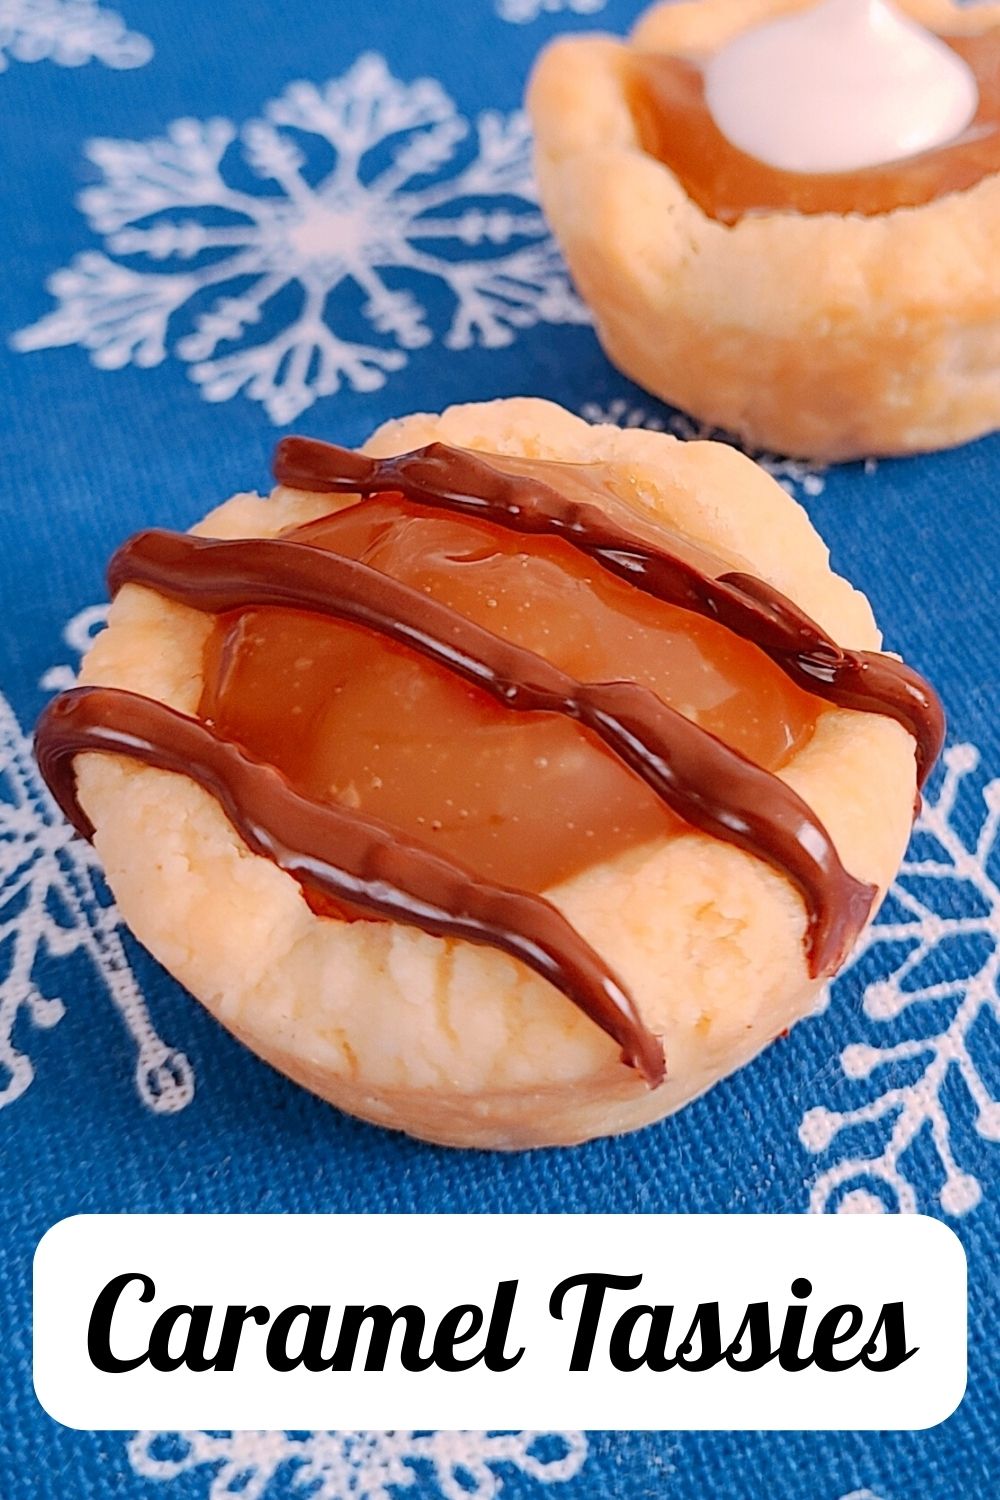
Today is the final day of #ChristmasCookies Week and I hope you enjoyed it as much as I have! My last recipe is another new one for me, tassies. I've made cookie cups before but these Caramel Tassies from Taste of Home were my first try at a cream cheese based dough.

It's super simple to put together, cream cheese, butter and flour. Be sure that everything is softened and that the cream cheese and butter are really fluffy before you add the flour. After it's chilled you roll it into balls and then press them up the sides of the tins. I like to use a tart tamper for this.

Dock the dough using a fork or a skewer. This helps the bottoms of the tassie stay flat. But don't worry, if some rise up after being baked just use the tamper to push them back down while they're still hot.

The caramel filling is 2 ingredients. I hate unwrapping caramels so I bought the bits instead. Like everything else, the package has been downsized. I started with 11 oz of bits and 1/4c evaporated milk and then I added about 1 tablespoon more of the milk.

Next up is the frosting. I'm going to say that I don't think the recipe really needs it. I made the tassies multiple ways- just caramel, just caramel and frosting, caramel, frosting and melted chocolate and just caramel and chocolate.

I used Lindt Dark Chocolate with sea salt for drizzle. That along with the caramel were absolutely my favorite. My guys preferred the ones with just the caramel.

Thank you again to Ellen from Family Around the Table for hosting Christmas Cookies Week and to all of the other the other bloggers for sharing their fantastic recipes this week. If you try any of the recipes be sure to go and let them know by leaving a comment or a rating!
Caramel Tassies

Ingredients
- 1 cup butter, softened
- 6 ounces cream cheese, softened
- 2 cups all-purpose flour
- FILLING:
- 1 package (11 ounces) caramel bits
- 1/4 cup plus 1 to 3 tablespoons evaporated milk
- FROSTING:
- 1/4 cup shortening
- 1/4 cup butter, softened
- 2 cups confectioners' sugar
- 2 tablespoons evaporated milk
- 3 to 4 tablespoons melted dark chocolate, optional
Instructions
- In a large bowl, cream butter and cream cheese until light and fluffy, 5-7 minutes. Gradually add flour and mix well. Cover and refrigerate for 1 hour or until easy to handle.
- Roll dough into 1-in. balls; press onto the bottom and up the sides of ungreased miniature muffin cups. Prick bottoms with a fork. Bake at 375° until golden brown, 15-17 minutes. Cool for 5 minutes before removing from pans to wire racks.
- In a small heavy saucepan over low heat, melt caramels with milk. Remove from the heat; cool slightly. Using 2 spoons, fill pastry cups with caramel mixture. Cool to room temperature.
- For frosting, in a small bowl, beat shortening and butter until smooth. Gradually beat in confectioners' sugar and milk until fluffy. Pipe onto filling. If desired, drizzle with melted chocolate. Store in the refrigerator.
Notes


- Caramel Tassies by Jolene’s Recipe Journal
- Chocolate Caramel Peanut Butter Thumbprint Cookies by Red Cottage Chronicles
- Chocolate Covered Cherry Cookies by Karen’s Kitchen Stories
- Chocolate Thumbprints by Hostess At Heart
- Christmas Shortbread Cookie Bars by Kathryn’s Kitchen Blog
- Date Sugar Walnut Cookies by Magical Ingredients
- Earl Grey Snickerdoodles by The Spiffy Cookie
- Easy Cake Mix Biscotti by Hezzi-D’s Books and Cooks
- Gingerbread Crinkle Cookies by Best Cookie Recipes
- Gingerbread Penuche Sandwich Cookies by That Recipe
- Ginger Molasses Cookies with Caramelized Ginger by Family Around the Table
- Gluten-Free Peanut Butter Blossoms by Frugal & Fit
- Hot Chocolate Cookies by Blogghetti
- Iced Gingerbread Bars by Art of Natural Living
- Maple Doodles by A Day in the Life on the Farm
- Mini M&M Cookies by Palatable Pastime
- Oatmeal Shortbread Cookies by Shockingly Delicious
- Orange Ginger Refrigerator Cookies by An Affair from the Heart
- Peppermint Meringues by Cheese Curd in Paradise
- Peppermint Mocha Cookies by Sweet Beginnings
- Reese's Macaron by A Kitchen Hoor’s Adventures
- Sugar Plum Pinwheel Cookies by Faith, Hope, Love, and Luck Survive Despite a Whiskered Accomplice
- Texas Sheet Cake Cookies by Jen Around the World
Comments
Post a Comment